Creating a New Composition

To create a new CPL:

  1. From the Assets menu, click Edit or click the name of the asset you want to create a new composition. The Asset Details page is displayed.

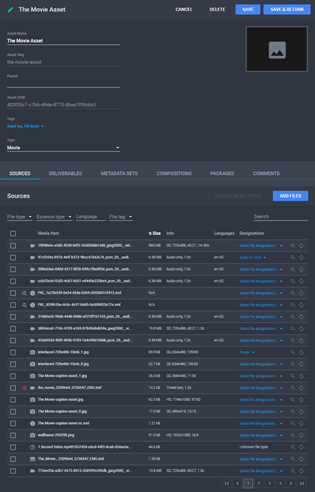
    The Asset Details Page

  2. On the Compositions tab, click New Composition. The CPL Editor is displayed.

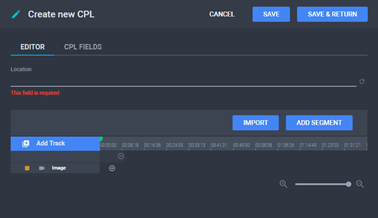
    The Create New CPL Page

  3. If configured, choose to generate the location by the CPL naming convention. See About File Naming Conventions.
  4. Click Add Track and choose the track type: Audio or Timed Text. A new track is added to the timeline.
  5. Click Add Segment. A segment is added to the timeline.
  6. For the desired track, click . The Insert Resource dialog is displayed.

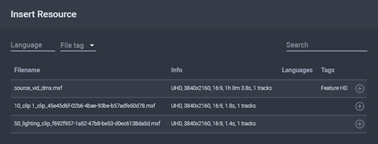
    The Insert Resource Dialog

  7. You can filter the list by Language, File Tag, or by searching for a specific file name. Choose the resource you wish to attach to the current track, then click . The resource is loaded into the track and the timeline is updated.

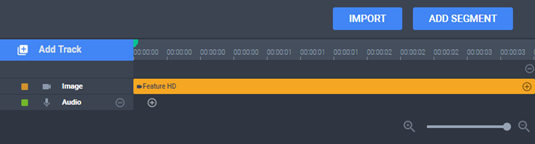
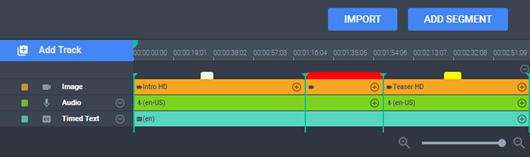
    The Updated Timeline

  8. Repeat steps 3 to 6 to add the required number of tracks, segments, and resource files.

    The Completed Timeline

  9. In the CPL Fields section, fill in: ID, Annotation, Issuer, Creator, ContentOriginator, ContentTitle, ContentKind, enable/disable Timecode DF (Drop frame), Timecode Rate, Timecode Start Address.
  10. Click Add Content Version and fill in the ID, Label Text, and Language fields. Use the content version list to version your CPL files.

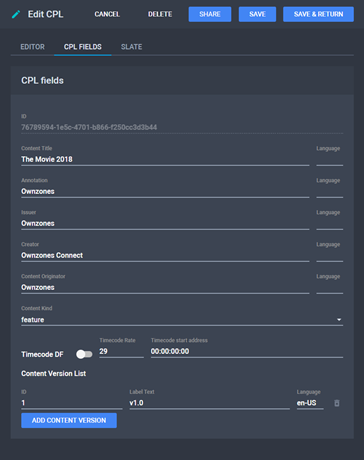
    The Updated CPL Fields

  11. Click Save. The Preview and Slate sections are displayed in the CPL Editor.
  12. In the Slate section, click Create to perform demux for the CPL. The Create Slate dialog is displayed.

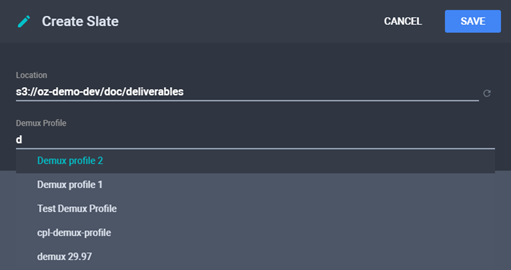
    The Create Slate Dialog
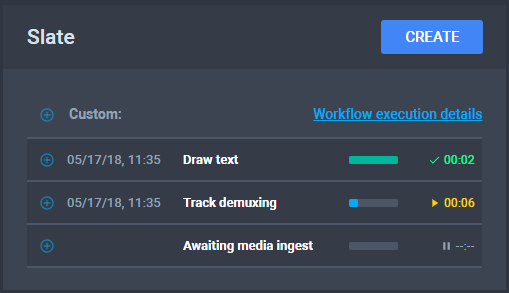
  13. If configured, choose to generate the location by the CPL naming convention. See About File Naming Conventions.
  14. Choose the Demux Profile, then click Save. The Slate section is updated to display the demux workflow progress. See About Demux Profiles.

    Slate Progress

  15. Optionally, extract and replace clips from the media item. See The Clips Section.
  16. Repeat steps 11 to 13 according to your needs.

See Also